Lesson 8 of 17 · Managing risk
Stop loss and take profit
Set automatic exits so every trade has a planned worst case and a planned target.
- 1
Why automatic exits matter
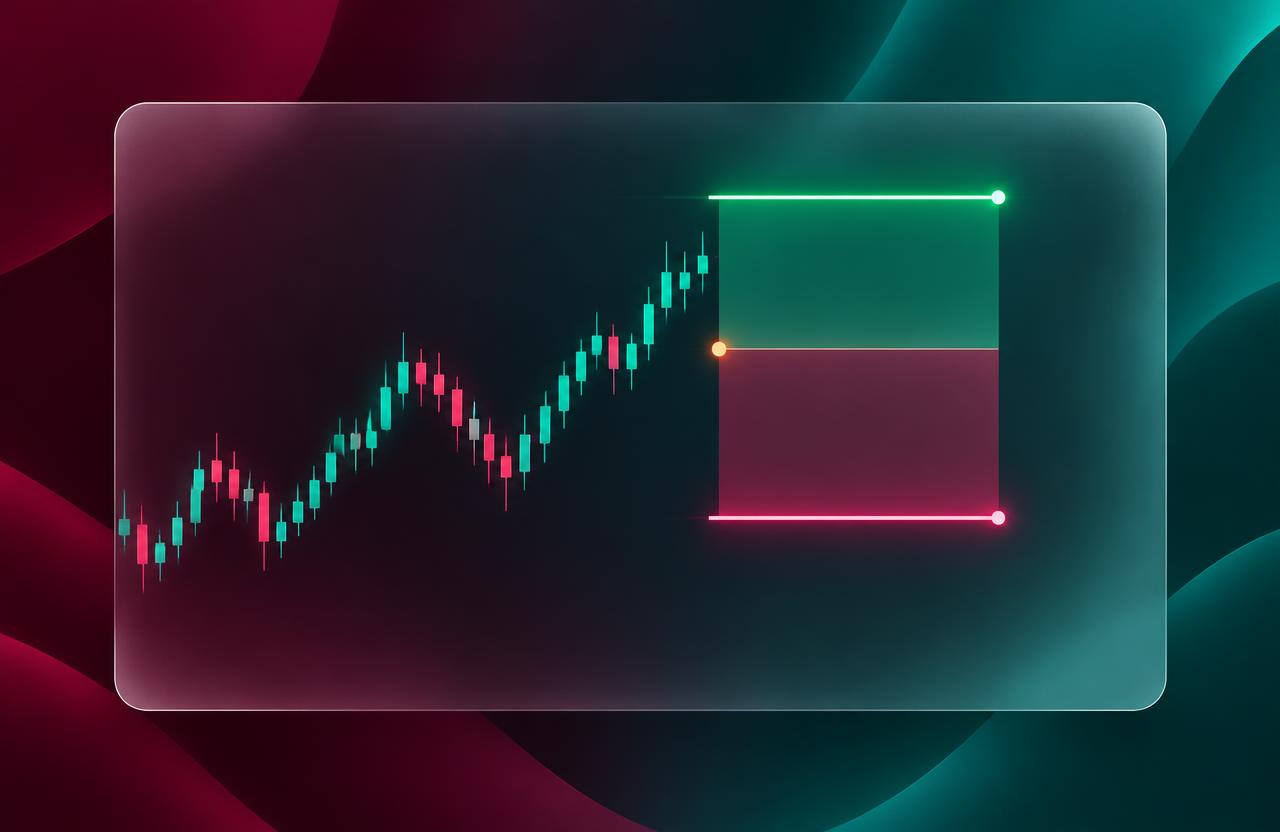
A stop loss closes your trade if price reaches a level that proves your idea wrong. A take profit closes it when your target is reached. Together they turn a hopeful guess into a plan with a known risk and reward.
- Decide exits before entering, when you're calm.
- In the Lab, both lines appear on the chart.
 2
Where to place a stop
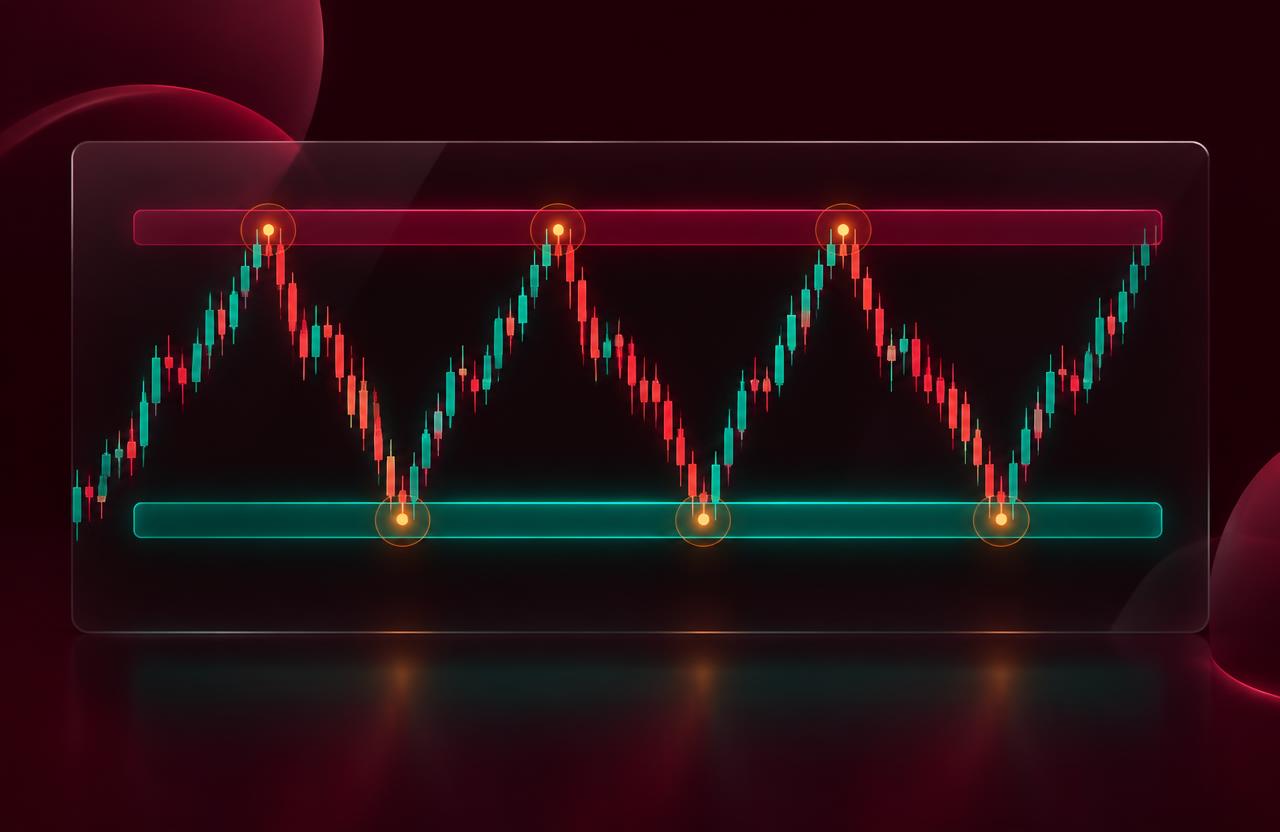
Put your stop where the trade idea is invalid — for example just below the support you're buying from, not at a random dollar amount. If that distance is too big for your account, trade smaller instead of moving the stop closer.
- Give the stop room beyond normal wiggles.
- Wider stop = smaller trade size.
- 3
Setting a target
Targets often sit just before the next resistance (for buys) or support (for sells). Compare the distance to your target with the distance to your stop — that's your risk-to-reward ratio.
- Aim for at least 1:2 risk-to-reward.
- Use the Calculator page to check ratios quickly.
 4
Practise in the Lab
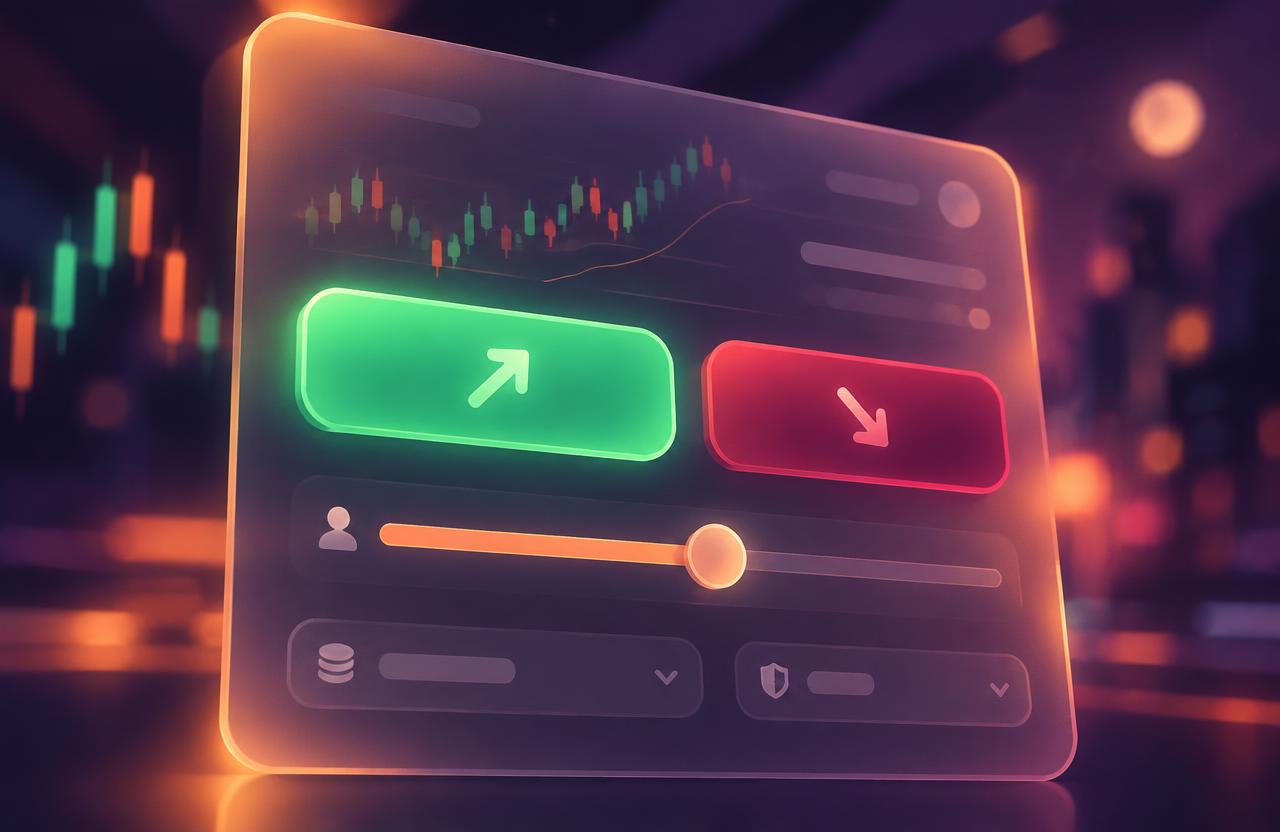
Open a small trade, switch on both Stop loss and Take profit, and watch the ticket show the money at risk and the potential gain. Let the trade run without touching it and see which exit triggers.
- Don't move your stop further away mid-trade.
- Record which exit hit in your journal.
Key takeaways
- Every trade needs a planned exit both ways.
- Stops go where your idea is wrong.
- Adjust size, not the stop.